



Evita 5 errori comuni durante il test dell'umidità relativa nelle solette di calcestruzzo
You can’t count on a successful flooring installation over concrete without testing the slab for moisture according to the ASTM F2170 standard. Fortunately, the standard isn’t hard to follow, and today’s technology makes it easier than ever. Here are five common, honest mistakes to watch out for:
- Not performing RH testing at all.
- Assuming one RH sensor will do the job.
- Installing the RH sensor upside down. (Yes, it’s happened.)
- Trying to recover and reuse a single-use RH sensor.
- Waiting 72 hours after installing RH sensors to take readings, when ASTM F2170 now allows readings after 24 hours.

If you’re installing nearly any type of flooring over a concrete slab, you need accurate concrete moisture test data showing relative humidity (RH) readings within the flooring manufacturer’s specifications. ASTM F2170 in-situ probe testing is widely considered the most reliable way to determine the moisture condition of a concrete slab.
But as with anything else, you need to know the procedures and how to use the tools properly. The better prepared and more experienced you are, the better your results will be.
Even with the best-laid plans, mistakes still happen. Here are five cautionary tips that come directly from Wagner Meters support call logs.
Errore n. 1: non eseguire il test RH
This is probably the worst mistake you can make. Just as with skipping any other diagnostic test, the potential cost to your bottom line and your reputation can be very high if things go wrong.
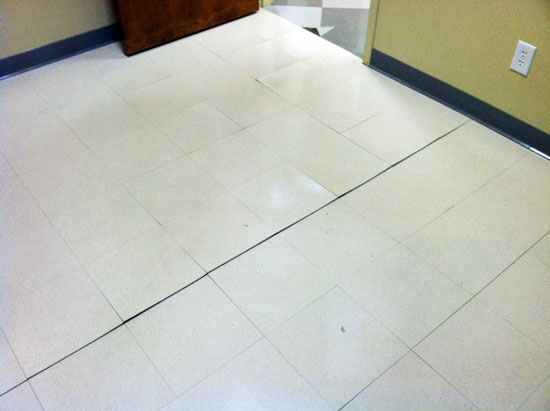
Skipping concrete RH testing can lead to significant flooring damage and, more importantly, damage to your reputation.
Wagner Meters takes great pride in providing personalized customer service to help flooring professionals succeed with concrete RH testing, sometimes even when they’re not using our Rapid RH® in-situ testing system. We keep records of our more significant support calls. Here’s a cautionary tale from our files: A general contractor (GC) in charge of construction and renovation for a large school district was building a 2,000 sq. ft. addition to his own home. Once the HVAC was up and running, the wood flooring was delivered. Because of the GC’s busy schedule, the home addition was a low priority, so the wood flooring had nine months to acclimate.
The GC subcontracted the flooring installation, but the flooring contractor didn’t perform any RH testing on the concrete slab. The GC didn’t fully understand the importance of RH testing at the time, because the school district always hired inspection companies to do the testing. So when the flooring contractor told him the adhesive would act as a moisture barrier, the GC gave the go-ahead. Two months later, the floor failed throughout the entire 2,000 sq. ft. addition. Lesson learned: do your own test to be sure. Even if another test has been done, two sets of results are better than one.
Errore n. 2: presumere che un solo sensore di umidità relativa sia sufficiente
We sometimes get calls from customers asking whether one Rapid RH Smart Sensor in a slab will do the job. The answer is no. ASTM F2170 calls for three tests for the first 1,000 sq. ft. and at least one additional test for each additional 1,000 sq. ft.
That’s because moisture conditions can vary widely across a slab due to things like staggered pour times, uneven aggregate distribution, and even exposure to sunlight. You don’t want one untested section of the slab, like the part that was in the shade, to ruin your entire flooring installation.
Errore n. 3: installazione del sensore di umidità al contrario
Wagner Meters, an innovator in wood and concrete moisture measurement since 1965, makes an in-situ probe testing system that complies with ASTM F2170. Wagner’s Rapid RH L6 Smart Sensor is a cylindrical sleeve with a closed bottom. You might think the closed end should be at the top to enclose the test hole, but it doesn’t work that way.
The closed end goes in first, trapping a very small volume of air between the bottom of the sleeve and the bottom of the hole inside what’s called an “isolation gasket.” The onboard electronic sensor takes its RH reading in that volume of air. Follow the instructions carefully. Once the sensor is installed in the hole, you can’t remove it without damaging it, so get it right the first time.

Download gratuito: 4 motivi per cui il tuo calcestruzzo impiega un'eternità ad asciugarsi
Errore n. 4: tentativo di recuperare e riutilizzare un sensore di umidità relativa
Rapid RH L6 Smart Sensors are designed for single use. You can’t remove them without damaging them. Even if you manage to remove one with the sleeve intact, the sensors are very sensitive, and their calibration can’t be guaranteed after that kind of handling.
If you want reusable sensors, the Rapid RH 5.0 Smart Sensors are designed to be reused, and their calibration can be verified with the EasyCare CalCheck™. Calibration is essential for accurate testing, and ASTM F2170 spells out the calibration requirements for all sensors.
Errore n. 5: attendere 72 ore dopo l'installazione dei sensori di umidità relativa per effettuare le letture
Seventy-two hours is a long time to wait when it isn’t necessary. ASTM F2170 originally called for a 72-hour equilibration period, but the 2018 revision cut it to 24 hours. It pays to keep up with changes like this, and our articoli sull'umidità del calcestruzzo are a good place to start. If there’s ever a disagreement on site, don’t argue about it. Instead, check the standard itself, Metodo di prova standard ASTM F2170 per la determinazione dell'umidità relativa nelle solette in calcestruzzo mediante sonde in situ, which you should always have with you on the job.
Come evitare questi errori comuni
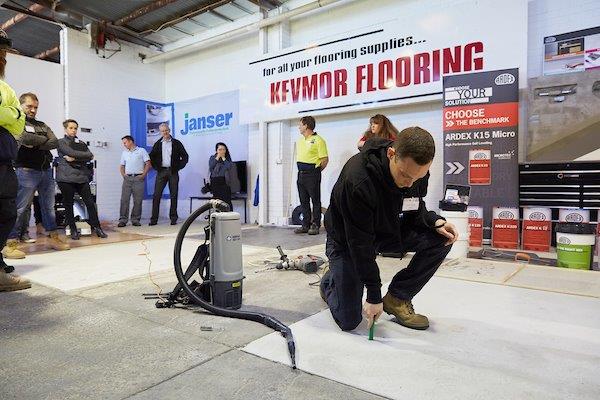
Hands-on training is one of the best ways to avoid testing mistakes.
Here are some simple ways to avoid these common mistakes with your concrete RH testing.
You can build your understanding and skill in concrete moisture testing with training and certification from the Istituto Internazionale per la Riparazione del Calcestruzzo (ICRI) through its Concrete Slab Moisture Testing (CSMT) certification program.
Another way to avoid mistakes is to carry a copy of ASTM F2170 with you whenever you’re on the job.
Aggiungi ai nostri segnalibri concrete moisture testing articles for an extensive library of RH testing articles and reference materials.
In caso di dubbi, chiamaci al numero 541-291-5123. Our support staff would love to help you avoid a problem before it happens rather than help you pick up the pieces afterward.

Jason vanta oltre 20 anni di esperienza nelle vendite e nella gestione delle vendite in diversi settori e ha lanciato con successo sul mercato una varietà di prodotti, tra cui gli originali test di umidità del calcestruzzo Rapid RH®. Attualmente lavora presso Wagner Meters come responsabile vendite dei prodotti Rapid RH®.
Ultimo aggiornamento il 9 ottobre 2026

 800-634-9961


Jason,
Ho un edificio di circa 5 piedi quadrati e costruito solo 10,000 anni fa. Le unità di trattamento aria sono rimaste spente per tutto il tempo dall'inizio del progetto.
Li hanno sostituiti e lo sanno solo dopo che l'interno dell'edificio è stato completato. Siamo al punto di dover installare il rivestimento in LVT, il vinile in fogli e la base Cove. Ho effettuato un test con Rapid RH con due unità su entrambi i lati dell'edificio a dicembre 2022. Ho eseguito un test a secco ed entrambe le unità hanno rilevato un'umidità relativa di 90°C. I pannelli del soffitto non sono ancora stati installati e l'unità sul tetto verrà accesa il 5-5,6-2023 XNUMX di questa settimana. Per quanto tempo dovrebbero funzionare le unità di trattamento aria per climatizzare l'ambiente? Esiste un documento che confermi l'obbligo di rispettare la garanzia del produttore e l'installazione di questo prodotto?
Soluzione per pavimenti commerciali
918-798-9119
Roberto Swank
Robert:
Grazie per la domanda. Per ottenere un test RH% valido secondo lo standard ASTM F2170, l'ambiente deve essere in condizioni di servizio nelle 48 ore precedenti il test e per tutte le 24 ore del test. Spero che questo sia d'aiuto.